Tracking Issues: Repairing a U-Matic Deck
Editor's Note (2021-04-06): The following post is the second in a series of three written by Savannah Campbell on the topic of analog video deck maintenance and repair. These posts were written by Savannah in the spring of 2017 as part of an Independent Study project with media conservator/audio engineer Bill Seery and video engineer Maurice Schecter, and published on NYU's Web Publishing service under the blog title "Tracking Issues". At an unspecified point sometime after Savannah graduated later that year, NYU cut off public access to the site. Though the content was recovered (with an assist from Ben Turkus) and the blog re-published, I've offered to also host the posts here on The Patch Bay. For the whole series, also check out "Swab the Decks!" and "Repairing a VHS Deck"! Thanks, Savannah!
For my first video deck repair project, I examined a Sony BVU-950 U-Matic machine. This deck was purchased at an auction and had been untested at the time I first looked at it.
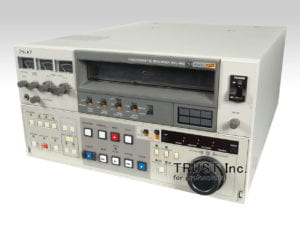
Since this machine was completely untested, the first step I took was to plug it in, hook it up to a monitor, pop in a test tape and see what happened. The deck powered on and images from the test tape (color bars in this case) soon could be seen on the monitor. However, the tape was squeaking terribly and drop out was appearing intermittently, but at regular intervals. Another issue I noticed fairly quickly was that one of the fans was not functioning at all.
The first order of business was troubleshooting the problem of the squeaking tape and determining what the cause was. As this may have been an issue with the test tape itself (possible sticky-shed syndrome, with the binder layer from the tape flaking off), I first got another test tape to use. I also unscrewed the lid from the machine and cleaned all parts of the tape path with PEC pads and isopropyl alcohol. For more pervasive messes where debris was stuck onto metal posts and even the video heads, I used acetone to clean them completely (acetone is a much stronger solvent than isopropyl alcohol). After cleaning the deck, I put in test tape #2 to see what happened. The squeaking issue persisted. With the lid of the deck removed, I watched the tape run through the machine. I noticed that when the deck squeaked, it was also putting creases in the tape at regular intervals. It was a good thing I was using a test tape and not a tape from an archival collection!
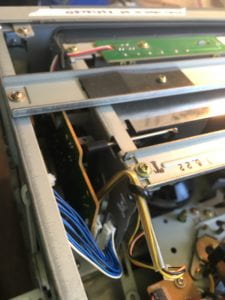
One method for diagnosing issues involves running the U-Matic deck in "emergency mode." In emergency mode, the deck will thread up the tape path WITHOUT the presence of an actual tape in the machine. This feature is only available on some deck models (including the BVU-950), and it is one way to examine all of the moving parts of the machine, such as the capstan, to make sure they are functioning. To run the machine in emergency mode, it is necessary to disconnect the tape elevator (as pictured above).
Side note: When undergoing a repair project, it is highly recommended to have the service manual on hand! By following the instructions in the BVU-950 service manual, I was able to run the deck in emergency mode and assess the condition of the machine.
After running the deck in emergency mode, all of the parts seemed to be functioning properly. With guidance from video engineer Maurice Schechter, we determined the problem was likely with either the capstan or the pinchroller. As the capstan was spinning normally when we ran the machine in emergency mode, we decided to take a closed look at the pinchroller.
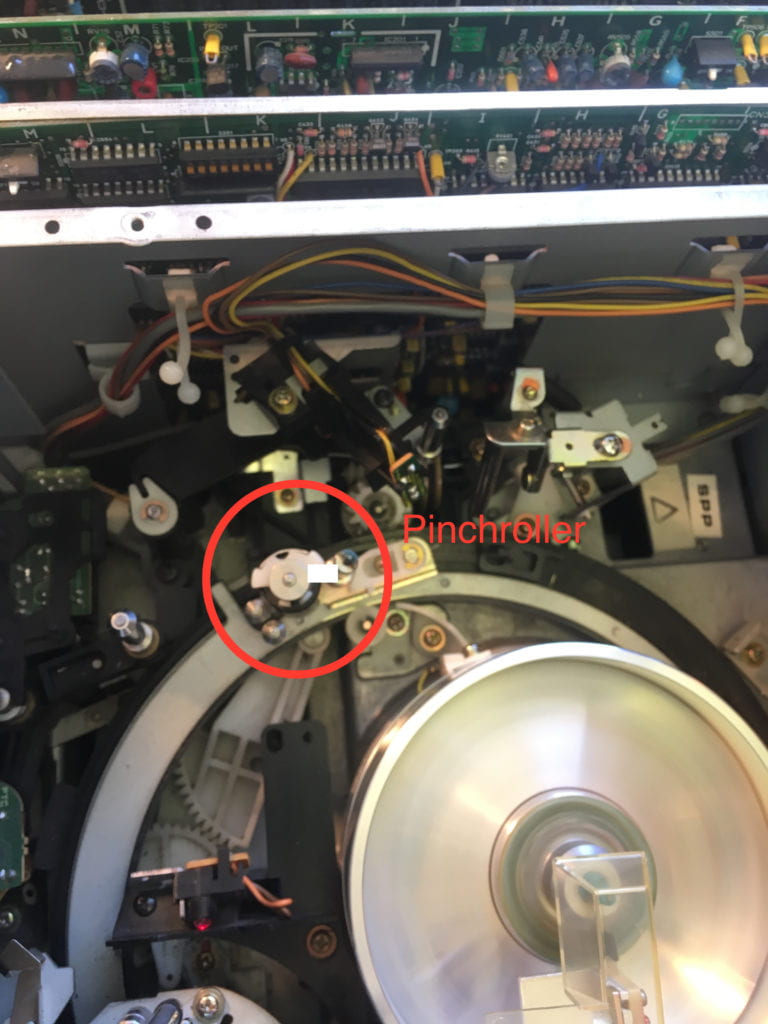
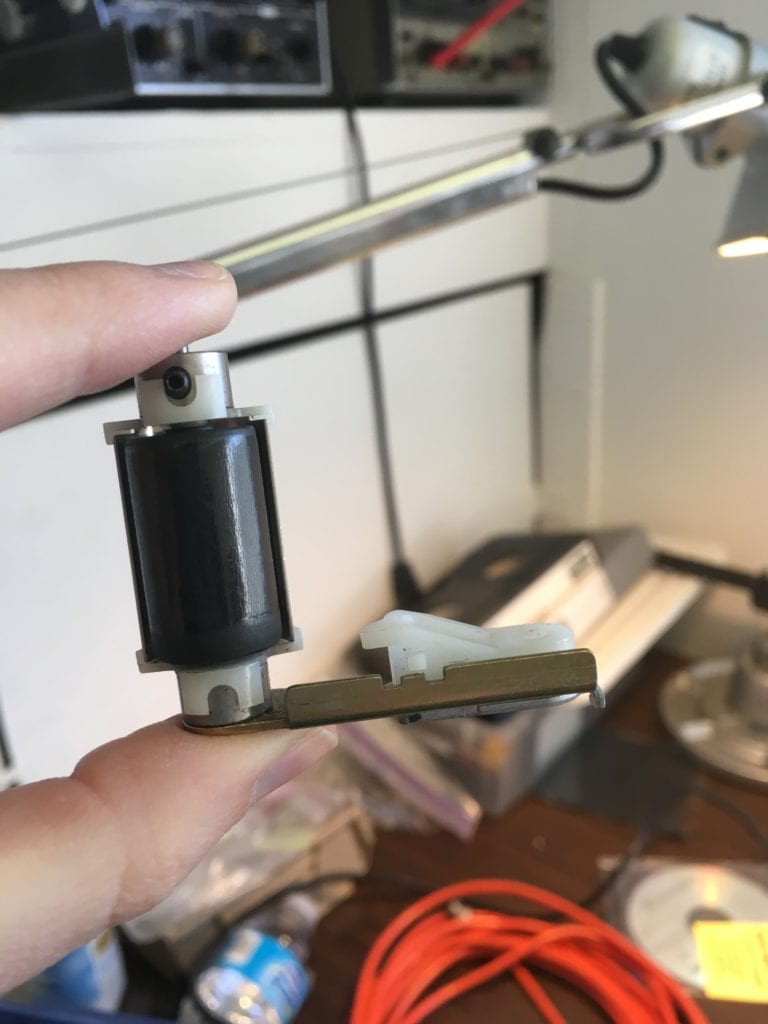
I removed the pinchroller and took a closer look at it. The material on it looked work out and glossy. As seen in the picture above, the pinchroller looked very smooth and slick, not rubbery like it should be. Even worse, the pinchroller had developed a beveled pit towards the bottom of it. This is the culprit of the tape creases! The worn out pinchroller was pushing the tape upwards, causing the creases in it. Luckily, there were spare pinchrollers on hand and I was able to simply swap out the part right away. With a new pinchroller in place, the deck was no longer creasing the tapes.
Though the primary issue with the BVU-950 was resolved, I still had more to learn, and more tests to run.
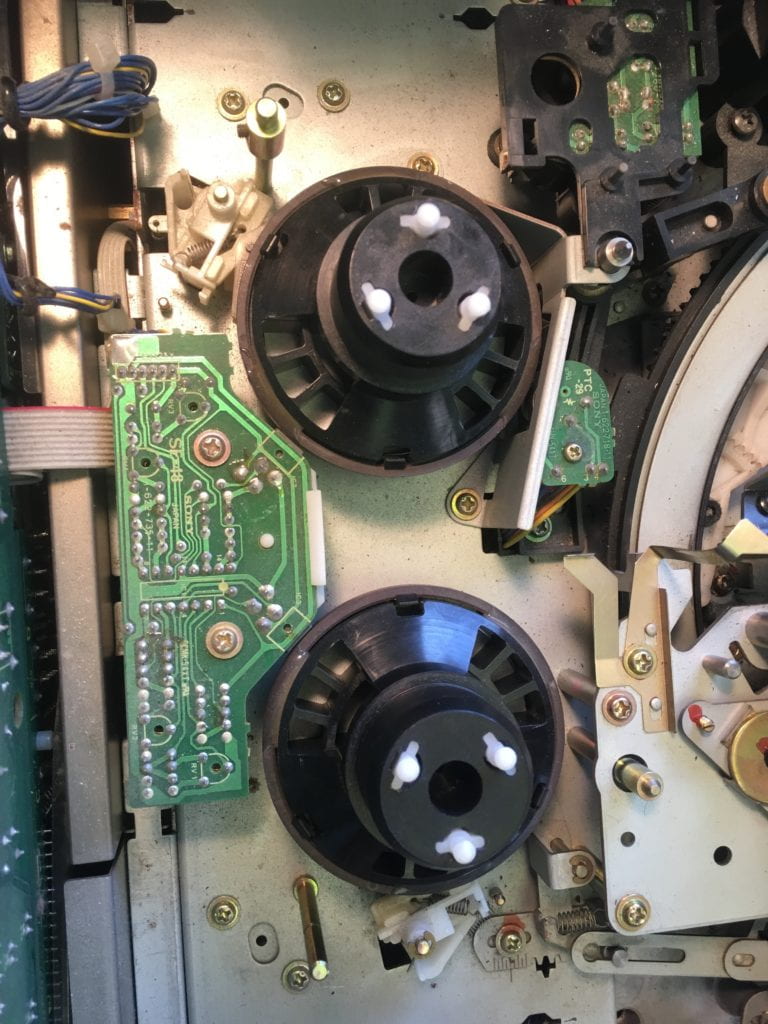
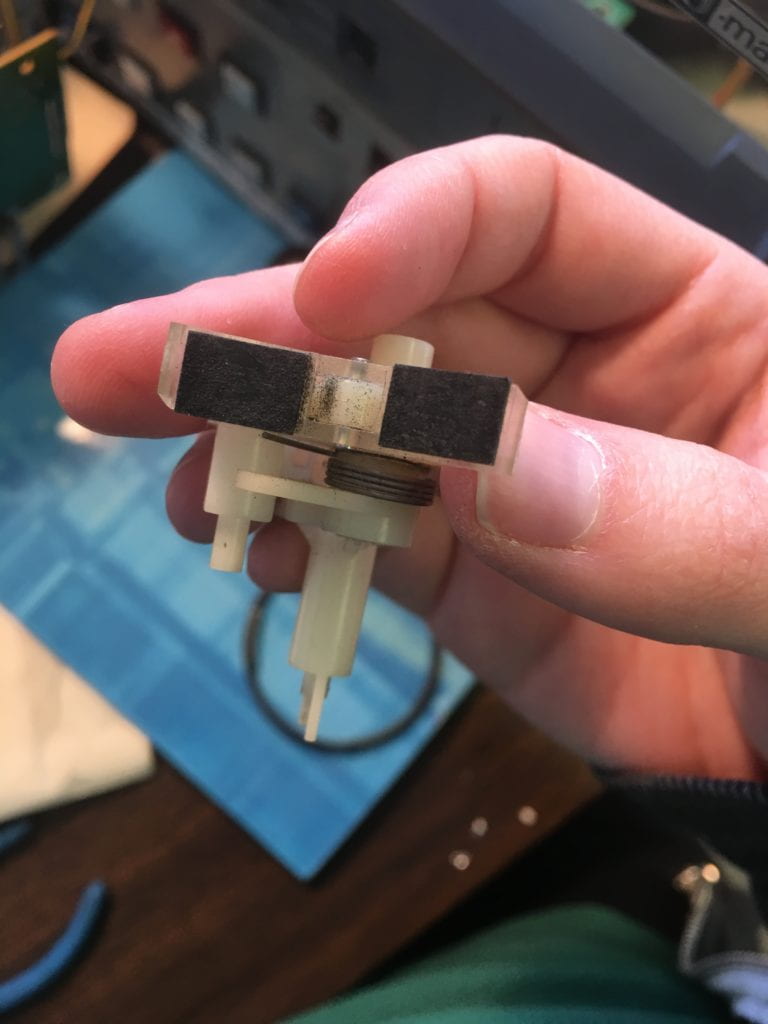
Though the test tape was no longer being creased, it still seemed to be moving fairly sluggishly throughout the deck. The part of the machine responsible for spooling the tape back onto its take-up reel was not moving very quickly (the left of the two black hubs in the picture above). I removed the take up hub from its metal post and greased up the post to make it smooth and slick. When I removed the hub, I was able to get a better view of the brake system, and noticed that the brake pads were very worn out and smearing black debris everywhere. I removed the worn out brake mechanism (also pictured above) and replaced it with a new one. After this, the tape ran smoothly through the U-Matic deck.
Next up, I took a closer look at the video heads themselves. To do this, I used a tool called a Tentel Head Protrusion and Eccentricity Gauge. This tool can be used for measuring how far the video heads protrude from the drum, which can tell you how worn out the heads are and if it is time to replace them. It can also be used to make sure the video heads are aligned and properly positioned in the drum.
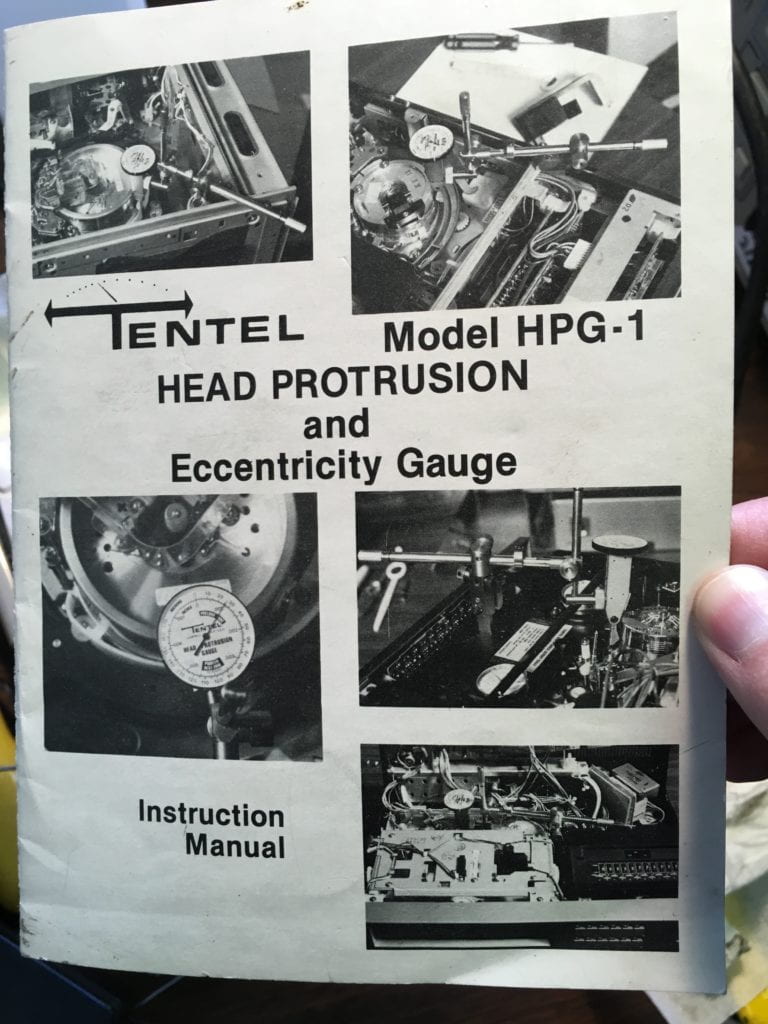
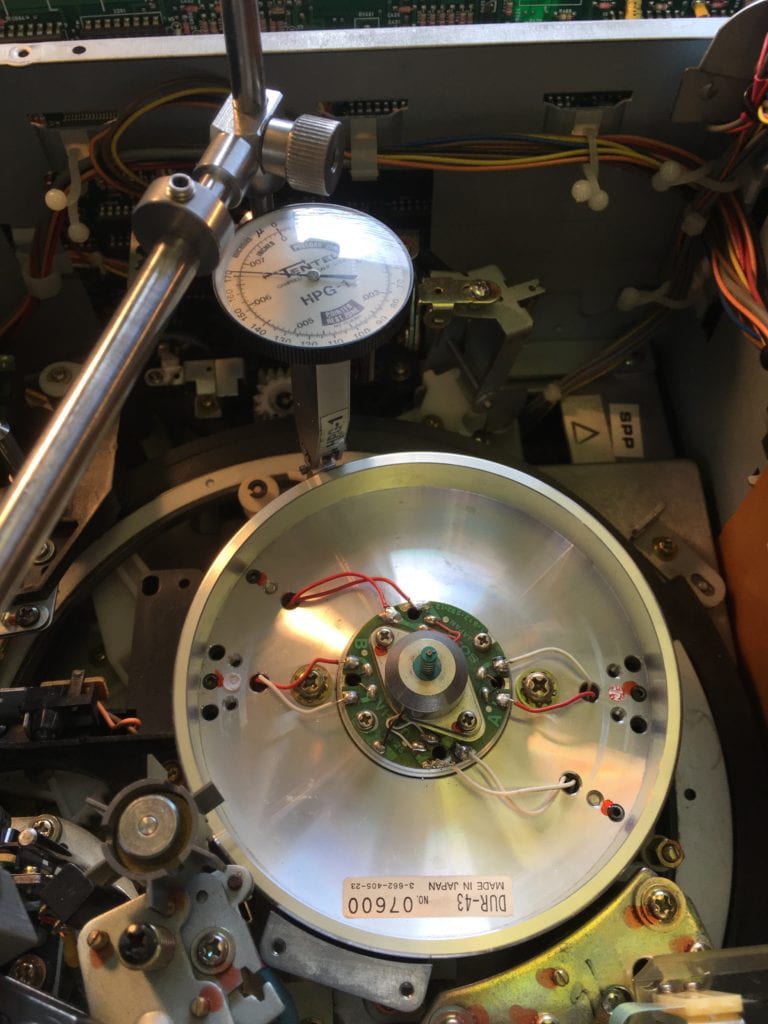
First, I attached the tool to the drum and gently spun the drum around to measure the video heads. The guide book the tool comes with includes a chart with the recommended length of a healthy video head (which changes depending on which video format one is working with. It will be different for U-Matic, VHS, etc.). The heads on this particular machine were below the recommended length, so Maurice and I decided to change the heads.
Placing the new heads in the correct position was by far the most tedious part of this repair process. To ensure the heads were aligned correctly, I again had to use the Tentel gauge. To align the heads, I had to gently (GENTLY) and repeatedly tap the drum until the heads were resting in the correct position. The sensitive video heads must be within 5 micrometers of the ideal alignment point in order to pick up the signal correctly. It was very easy to tap the head just a little too much and move it off target. This process required lots of time and patience, but I eventually got the new heads aligned properly and screwed them into position. Once in position, I used the Tentel gauge to measure the protrusion of the new heads and wrote down their length.
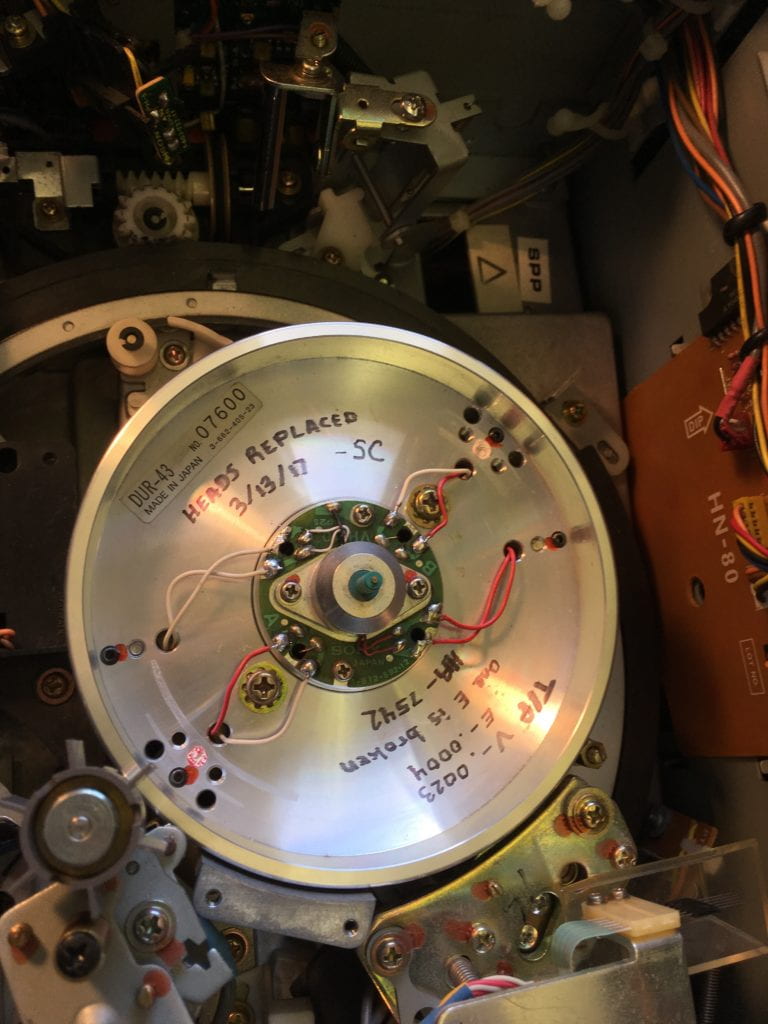
To document this repair and leave notes for future engineers, I made a note of the drum itself with sharpie. I mentioned that the heads were replaced and noted the T/P (tip protrusion) of the V (video) and E (erase) heads, as well as the total number of hours on the drum. I also noted the date and left my initials.
To perform one last, thorough cleaning of the deck before I closed it up, I took an air hose and blew out all of the dust inside of it, leaving it as pristine as possible.
Throughout this process, I did not forget the issue of the malfunctioning fan I noticed when I first tested out the machine. When I plugged it back in again to test the new heads, one of the machine's two fan units was not moving at all, and the other fan was moving very sluggishly.
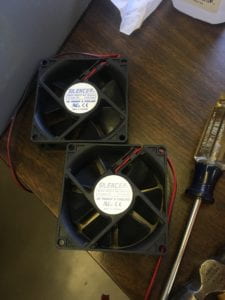
To remedy this problem, I removed both of the fan units and replaced them with brand new ones. Fans for video decks can easily be found online (as similar fans are used in all sorts of electronics, including computers). To select the proper fan, one just needs to note the size and voltage of the fan already in a video deck, and purchase a replacement of the correct size and voltage.
With the new fans in place and the deck in otherwise good working order, I was finally able to screw the lid back on the BVU-950 and call my first major video deck repair project complete.
For the next post in the "Tracking Issues" series, continue to "Repairing a VHS Deck".
Savannah Campbell (M.A. in Moving Image Archiving and Preservation from NYU, 2017), is now a Media Preservation Specialist, Video & Digital Media at the Whitney Museum of American Art in New York City. Prior to coming on board as part of the Whitney's Media Preservation Initiative, she was a Fellow in Magnetic Media Preservation at The Standby Program and worked on audiovisual projects for the Dance Heritage Coalition, CUNY TV, and Crawford Media Services.
