Tracking Issues: Repairing a VHS Deck
Editor's Note (2021-04-06): The following post is the last in a series of three written by Savannah Campbell on the topic of analog video deck maintenance and repair. These posts were written by Savannah in the spring of 2017 as part of an Independent Study project with media conservator/audio engineer Bill Seery and video engineer Maurice Schecter, and published on NYU's Web Publishing service under the blog title "Tracking Issues". At an unspecified point sometime after Savannah graduated later that year, NYU cut off public access to the site. Though the content was recovered (with an assist from Ben Turkus) and the blog re-published, I've offered to also host the posts here on The Patch Bay. For the whole series, also check out "Swab the Decks!" and "Repairing a U-Matic Deck"! Thanks, Savannah!
For this video deck repair project, I worked on a Panasonic NV-8950 VHS player.
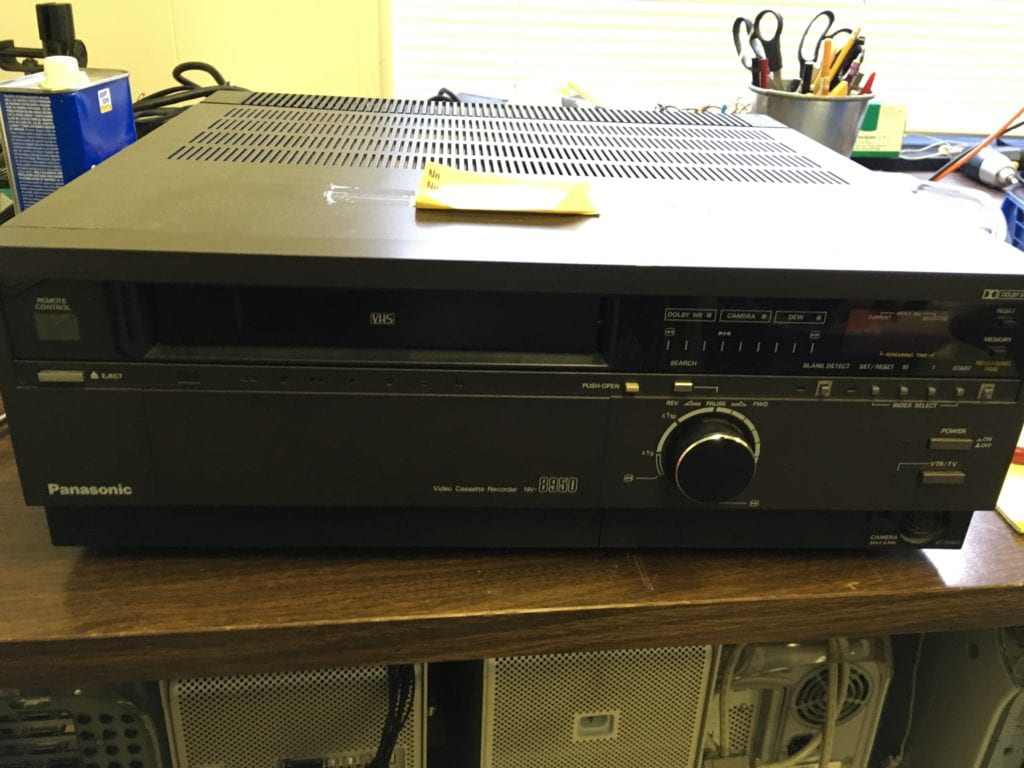
This particular model of VHS player is pretty special. It is the only VHS player ever manufactured to have dynamic head tracking. Dynamic head tracking enables the viewer to see a clear image when operating a tape deck in shuttle or jog mode, or when viewing a single image. To achieve this image stability, one of the video heads must be able to move/bend slightly to pick up a stable image. This feature was usually included on broadcast and professional-quality decks, and not on consumer-grade models. Thus, VHS players, as the format was designed primarily for consumers, largely did not include dynamic heads. As such, when operating a VHS player in shuttle/jog mode, there is a static/snow effect bleeding and blurring throughout the image, and the image does not appear stabilized. The dynamic head tracking feature thus makes the Panasonic NV-8950 unique among VHS players, and if a working deck of this model can be found, it would be preferable for use in a digitization station.
When I first hooked up this deck and ran a test tape through it, I almost immediately noticed a problem. I was running the deck with the lid removed so I could see the tape moving through the deck as it played. I quickly noticed the tape bunching up near where it should have been spooled back onto the take-up reel. Instead, the tape was bunching up inside the deck. I had to quickly stop the tape, remove it from the deck, and manually wind the tape back onto its hub inside the VHS cassette.
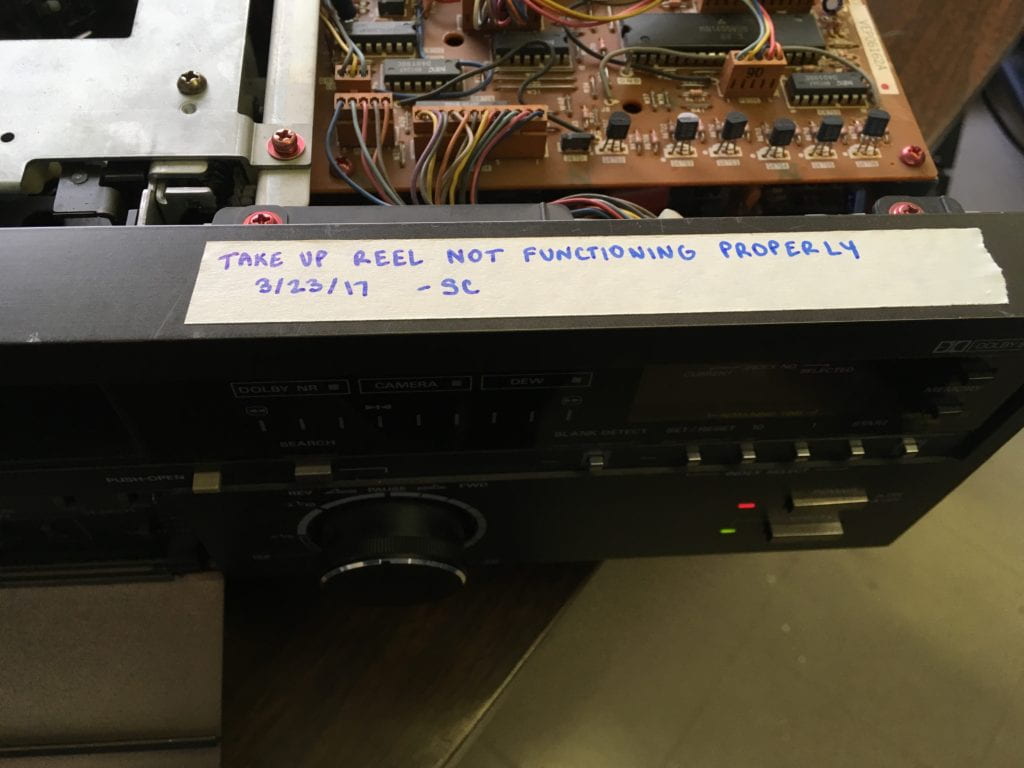
Upon closer inspection, it appeared the take-up reel was malfunctioning. It was either not turning at all, or turning far to slowly to wind the tape onto the reel. As I examined this deck towards the end of a day, I left a note on the machine stating the problem, the date, and my initials.
When I next returned to work on the deck, I was able to take a closer look at it and determine what the issue was. I took off the lid again and began to examine the inside of the deck. One of the nice things about the Panasonic NV-8950, and several other VTR models, is that the screws are color-coded. Red screws are consumer screws. They are the ones to remove first when taking apart the deck. You can see the red screws in the images below. They held the tape elevator in place. I had to remove the elevator in order to take a closer look at the take-up reel.
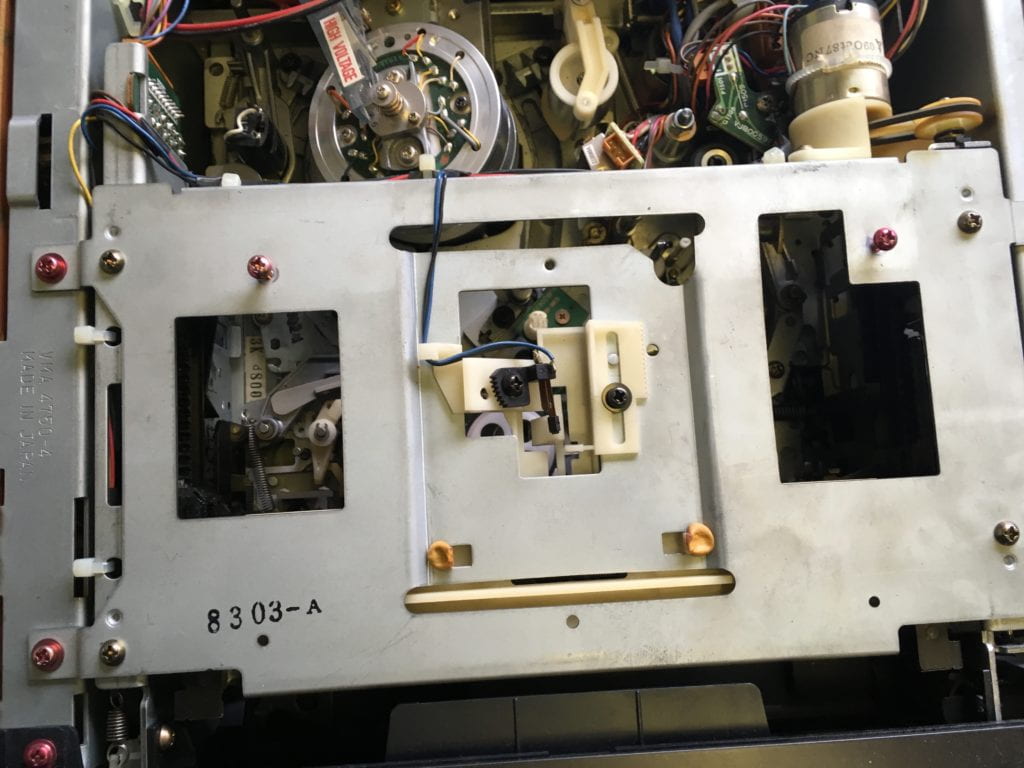
One of the most apparent problems was that the inside of the deck was very dirty: a black goop was smeared throughout the inside of the deck, including in the area near the malfunctioning take-up reel. In the images below, note the black goop inside the deck. It can must obviously be seen covering the circuit board between the reels.
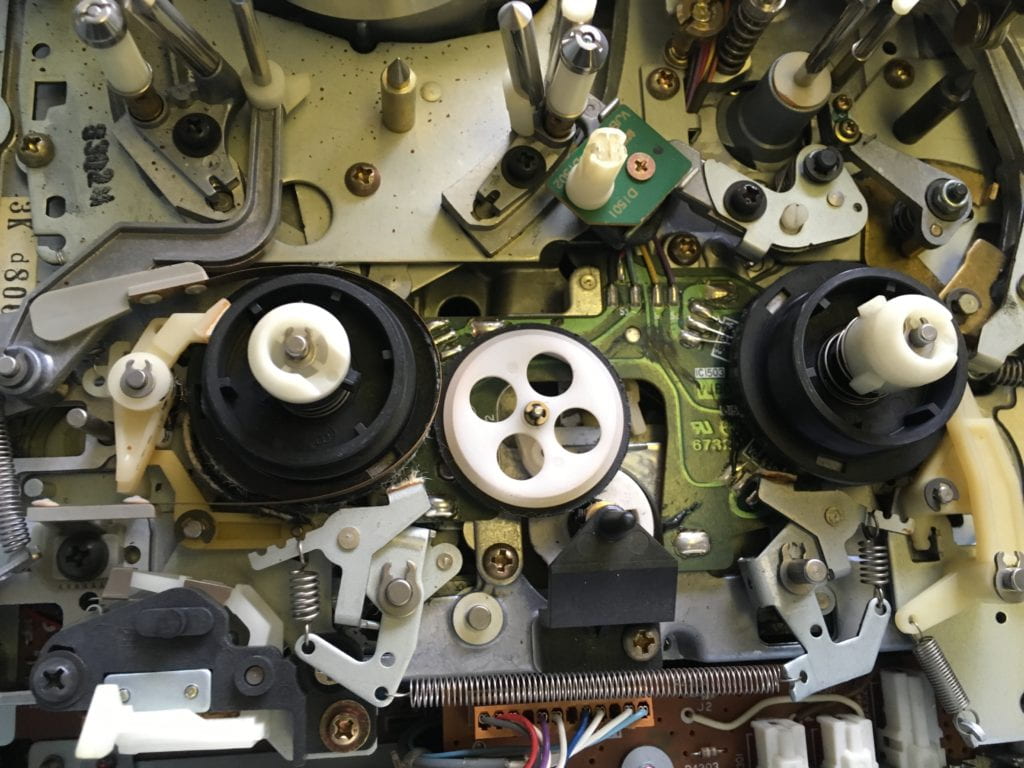
Where was all that black goop coming from? Taking a look at the white plastic reel in the center of the image, notice that it has a black rubber band around it. This is called the idler tire, and it helps drive the supply and take-up reels. The idler tire in this deck was badly deteriorating. The rubber on it was eroding away, creating thick black goop that was smearing all over the inside of the machine. In the above picture, also take note of the thin medal band surrounding the supply reel (the black hub on the left side). That medal band is part of the braking mechanism, and the felt brake pad on it has almost completely fallen off. That too needed to be replaced.
For this project, the first thing I did was remove the bad idler tire. Then, I thoroughly cleaned up the goopy black mess with acetone on PEC Pads and Q-tips. Acetone is a powerful solvent, and quickly cleaned up all of the melted rubber remnants.
After cleaning the deck, I replaced the idler tire with a new one, and installed it into the machine. Then, I took care of the brake pad issue. I took off the old, fraying felt (which was easy to do since the old glue had mostly worn away already). Then, I measured out and cut a fresh piece of felt and attached it to the metal brake band using contact cement.
Here is what the inside of the deck looked like after I made these repairs. Note the clean circuit board, new idler tire, and new brake band.
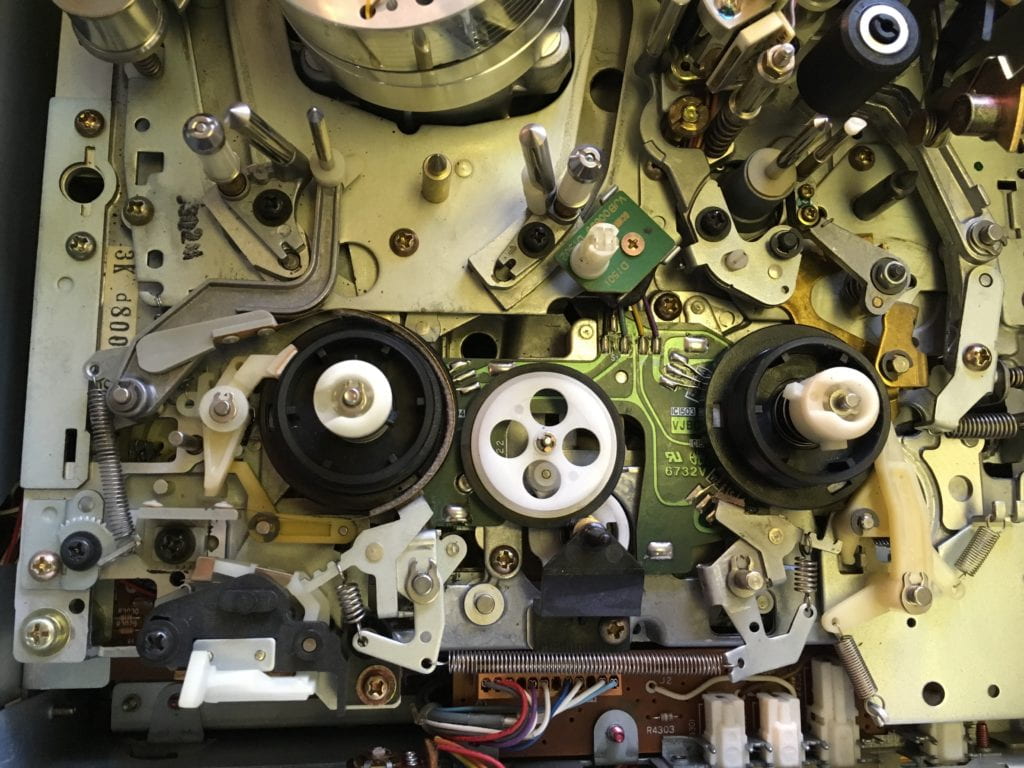
With this work done, I re-installed the cassette elevator, hooked up the deck to monitor again and played a test tape. This time, the deck functioned beautifully, transmitting great video and audio signals to the monitor.
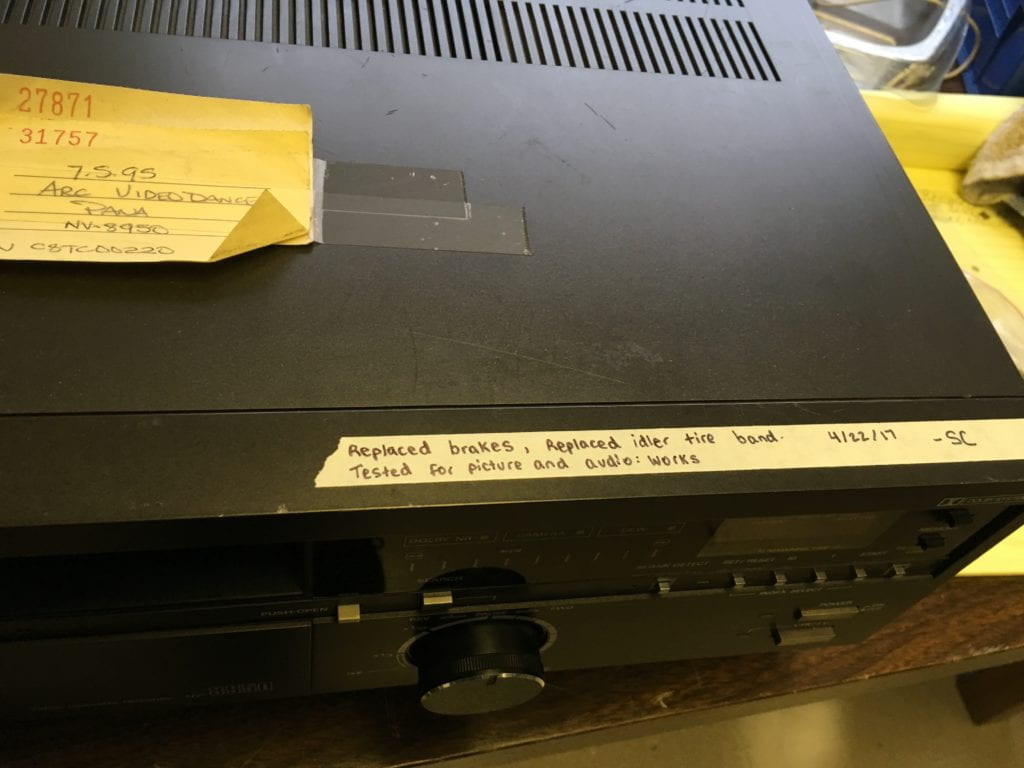
The last step I took was leaving a note on the machine, documenting the repairs performed.
Savannah Campbell (M.A. in Moving Image Archiving and Preservation from NYU, 2017), is now a Media Preservation Specialist, Video & Digital Media at the Whitney Museum of American Art in New York City. Prior to coming on board as part of the Whitney's Media Preservation Initiative, she was a Fellow in Magnetic Media Preservation at The Standby Program and worked on audiovisual projects for the Dance Heritage Coalition, CUNY TV, and Crawford Media Services.
